
This is an article template, which you can use for any combination of words and images.
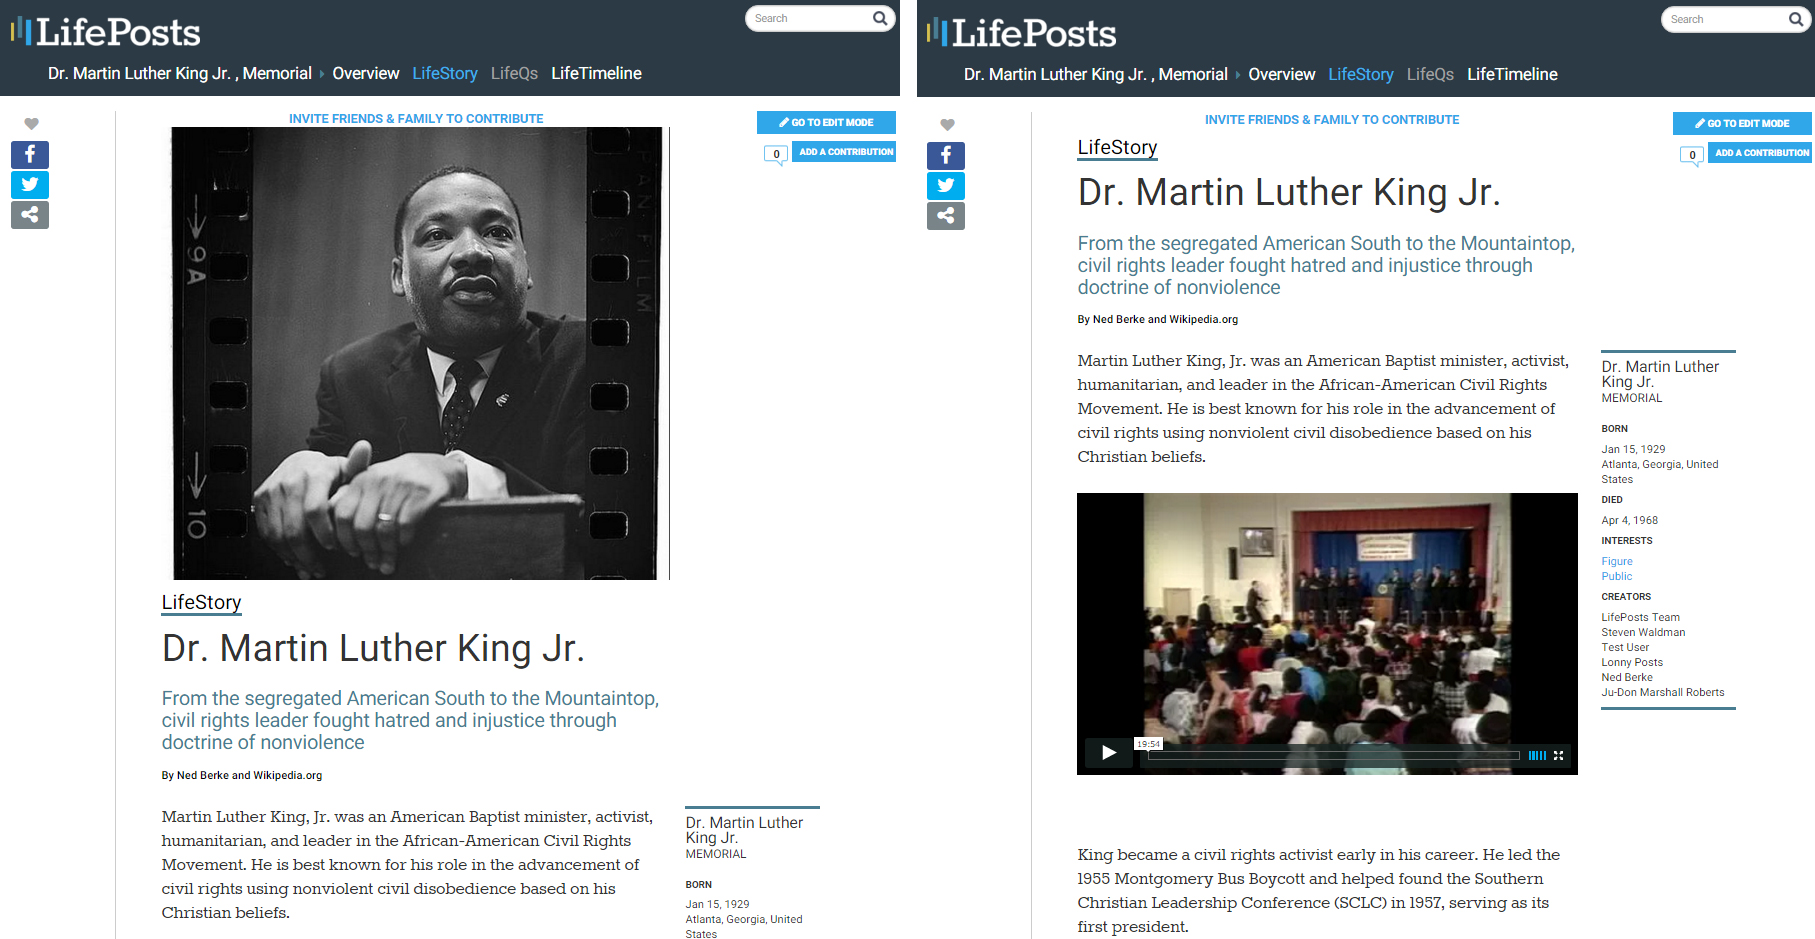
Main Media Slot
This is the spot for the large photo or video at the top of your essay. If you don’t want to have an image at the top, you can click the Remove button to delete it. The gray ‘empty photo’ slot will remain there when you’re in Edit Mode but when you look at the published version, it won’t be there.
You also can add photos and video throughout the main article area. In fact, it’s a great way to display a series of photos.
Photos, videos and audio are allowed as long as they have the following extensions: .png, .gif, .jpg, .jpeg, .mov, .avi, .wmv, .mp3 or .mp4.
Headlines
There are slots for two headlines. You can use both, or just the primary one. There is a limit, though, on how long they can be.
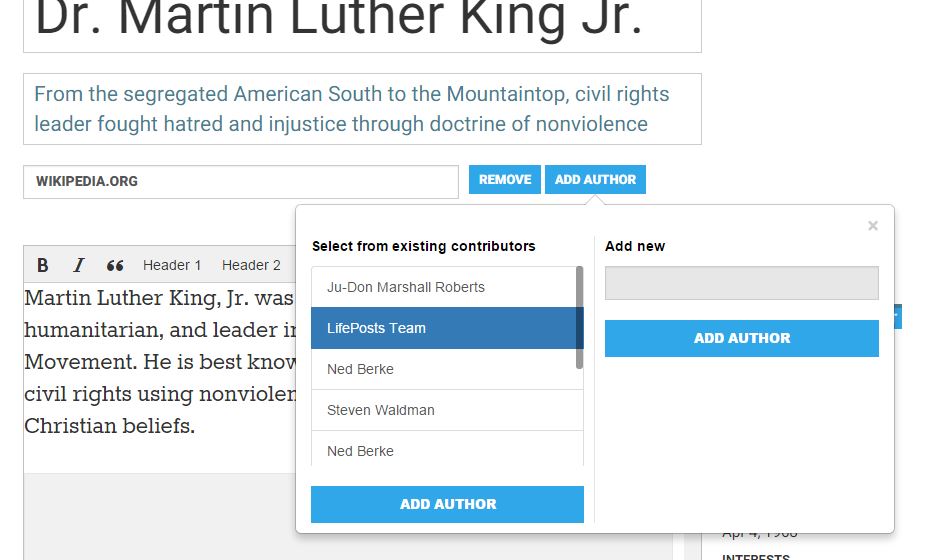
Bylines
By using the “Add author” and “Remove” buttons, you can decide who you want listed as the authors of the LifeStory. You can also leave that field blank.
Editing text areas
![]()
The text editor allows you to give your writing a professional look with:
Bold and italics: Highlight what you want in bold or italics and click on the B or I buttons at the top left. Or you can click on the relevant button, type, and then click the button again when you’re done.
Headings: You have two choices for the size of your Headings. To test them out, click the Paragraph icon (3rd one from left) in the text editor. The dropdown menu will offer your options. Click either one and then type in your headline. Or you can write the headline first, highlight it, and click either of the Header buttons to see how it looks.
Blockquote: If you have a long quote you want to visually set off from the rest of your text, it’s easy to format it — as magazines often do — as a “blockquote.” Highlight the area you want included and click the button that looks like quotation marks. Or you can click the button, type your passage, hit return, and then click the quote button again.
Link: If you’d like a particular phrase to be clickable to another website, highlight that phrase and then click the link button to insert the URL of your target website.
Add additional photos and other media in the body of your article: You can add as many images as you want. Just click on the Add Media button. Acceptable media types are photos, video, audio and documents with the following extensions: .png, .gif, .jpg, .jpeg, .mov, .avi, .wmv, .mp3, .mp4 and .pdf.
The background box
The information that appears on the side of the LifeStory template comes automatically from the creation form you filled out. If you’d like to change any of that information, go to Edit Mode and then click on the Edit button at the top of that basic info box. That will take you to the background information forms where you can make your changes and save.
Another way to reach and edit the background information for all your LifePosts is to go to your Settings page, go to “Manage Settings For”, pick the LifePost you want, go to the Honoree Information and hit ‘Update Honoree Information.’ Then edit and save as indicated above.
Publishing and saving
When you first start on a LifeStory, your work will be in an unpublished state that only you or another Co-Creator can see. When you want to share it with someone – perhaps a potential contributor – you need to hit Publish. This does not necessarily mean that it is public. If you set your privacy settings to Private, it will still only be seen by people you invite, even after it is “published.”
Once you have published, the language on the buttons changes a little bit. Each time you edit, hit “Save and Publish” to make your edits go live.