
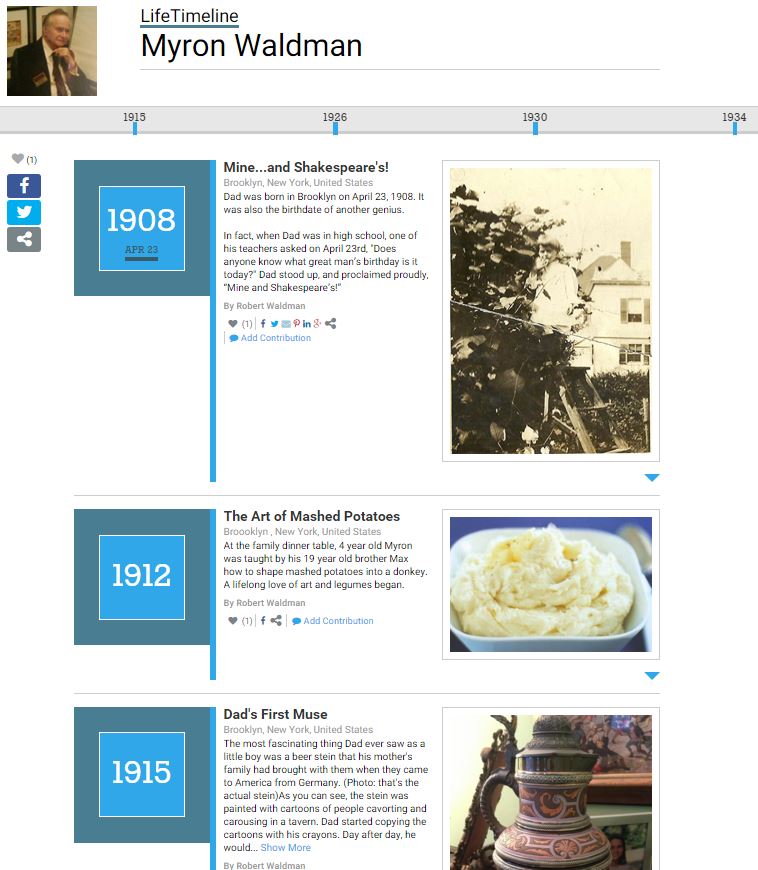
LifeTimeline is a great way to make key moments come vividly to life in an attractive, interactive format.
Creating an event – If you’re a Creator or Co-Creator, click on the Edit Mode button on the upper right part of the LifeTimeline (If you have not yet published your LifeTimeline, you will be in Edit Mode by default). Then click Add Event, fill out the form and hit Publish. It’s that easy.
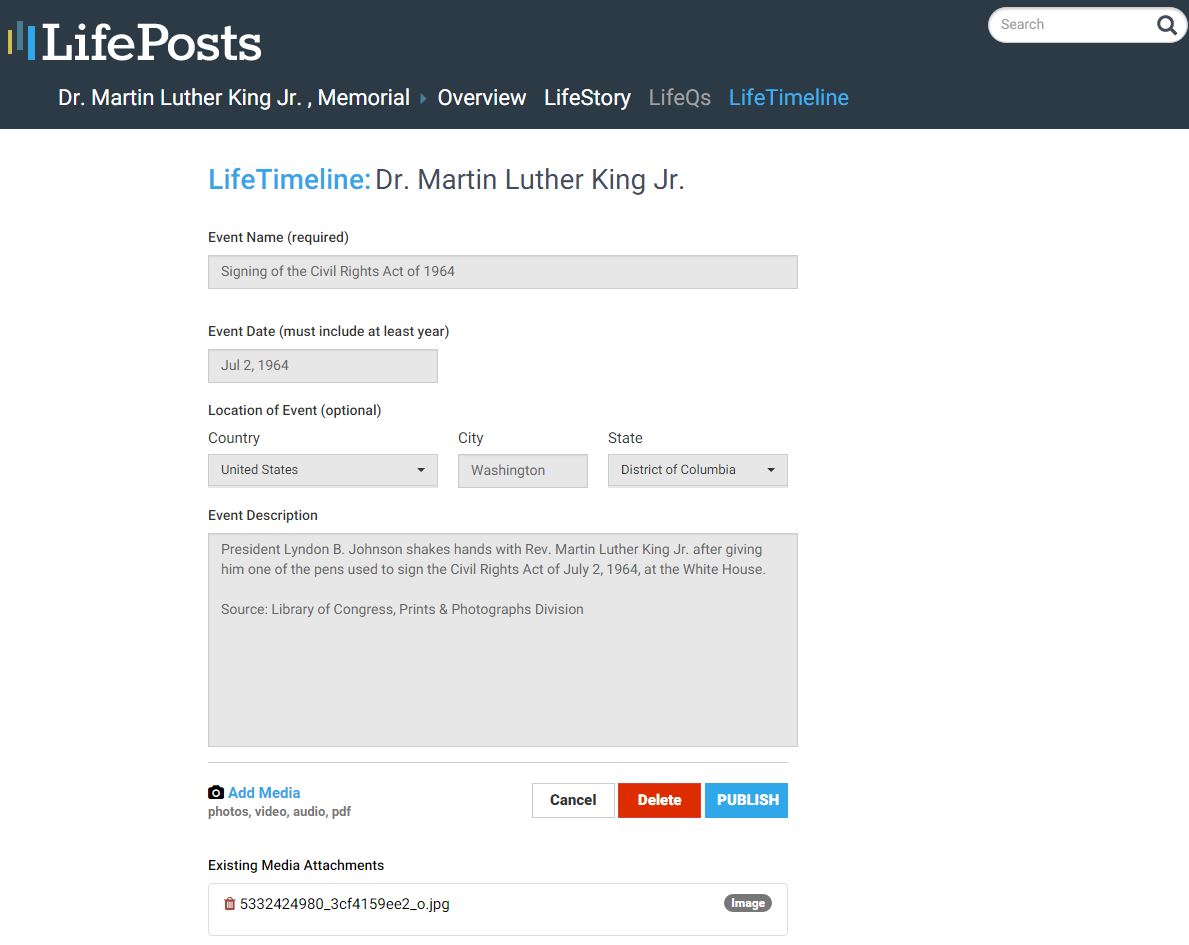
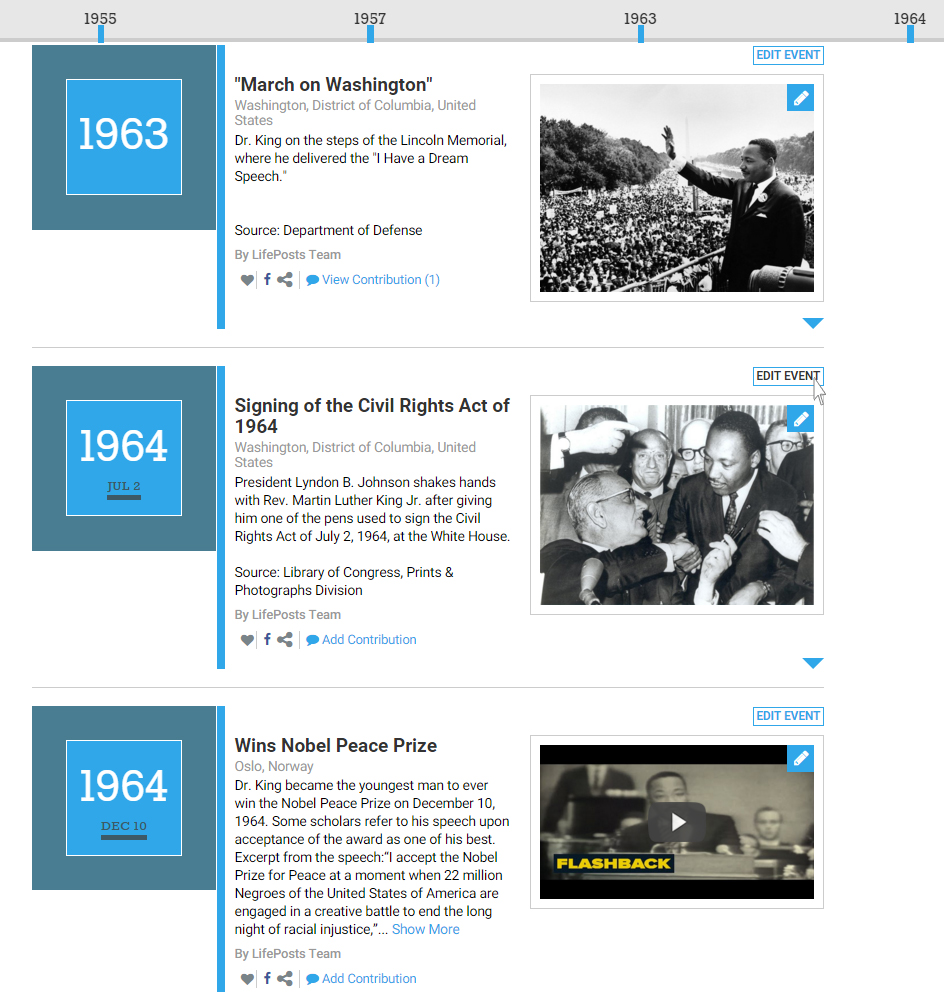
The location information is optional. After you hit submit, that event will materialize as a tick mark at the top of the timeline. Hover over the tick mark, and you’ll see a short description of the event you’ve created. Click on the item, and the full item will auto-scroll into view.
Publishing — When you first work on a LifeTimeline, it will be in an “unpublished” state. Only you and other Co-Creators will be able to see it or work on it. When you’re ready to invite other people as Contributors or readers, hit Publish. Now the LifeTimeline is live. From then on, when you add new events, they will go live right away.
Editing an event – You can easily go back and edit an event later. If you are the Creator or Co-Creator, you just go to Edit Mode, and then click on “Edit Event” in the upper right of the particular event. There you can edit the words or add new photos or videos.
If you’re not sure of the date. That’s ok. You can approximate by writing “about” as in “About 1962”.
More than one date per year – If there’s more than one date entered for a given year, they will all appear under the timeline tick mark for that year. But if you hover over it, all of the items for that year will appear.
Putting media in an event – You can add photos, audio videos or documents in the following formats to a timeline event: .png, .gif, .jpg, .jpeg, .pdf, .mov, .avi, .wmv, .mp4 and .mp3.
To add media, click the Add an Event button at the top of the timeline, or edit an existing event. Once the event form is open, select the Insert Media button, fill out the rest of the form, and click the Submit Event button to add it to the timeline.
Date ranges – We currently do not have the ability to add date ranges (coming soon!). For now, we recommend that you put in a date reflecting the beginning and/or end of the range. Then, in the text area, you can explain this is part of a broader range.
Multiple Photos – You can add more than one photo to any given LifeTimeline entry. And we’ve now given users the ability to determine the order in which those photos are displayed. For more on how to do that, click here.