
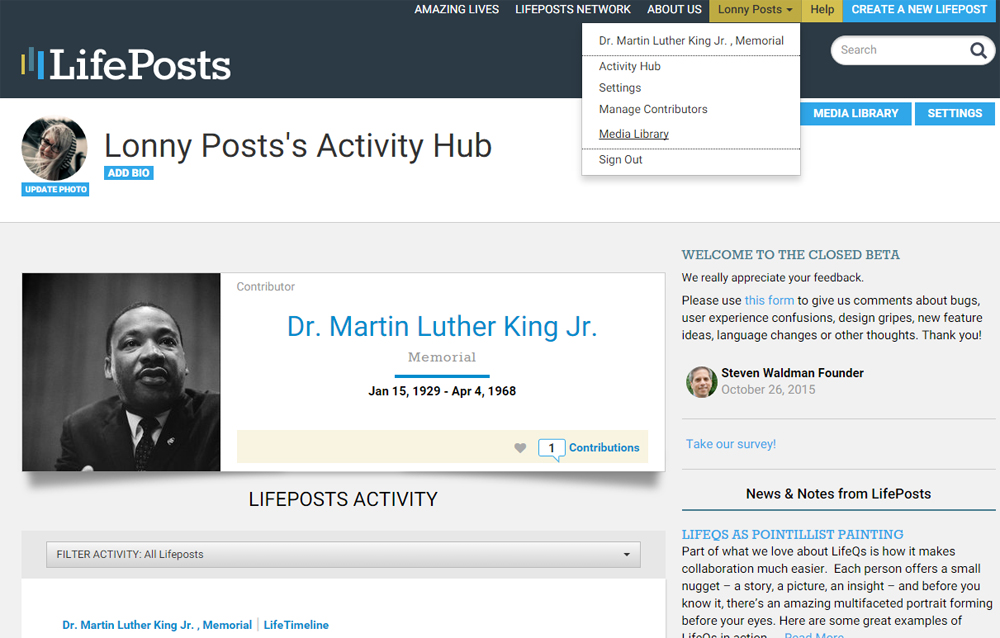
The Media Library is accessible through buttons on the Activity Hub or in the user drop-down menu at the top of the site.
The library allows you to upload, store and manage photos, videos, audio files or documents. In addition, any files submitted by Contributors to your LifePosts also will be available there. If you have created more than one LifePost, you will be able to filter items in your library by individual LifePosts or see them all together.
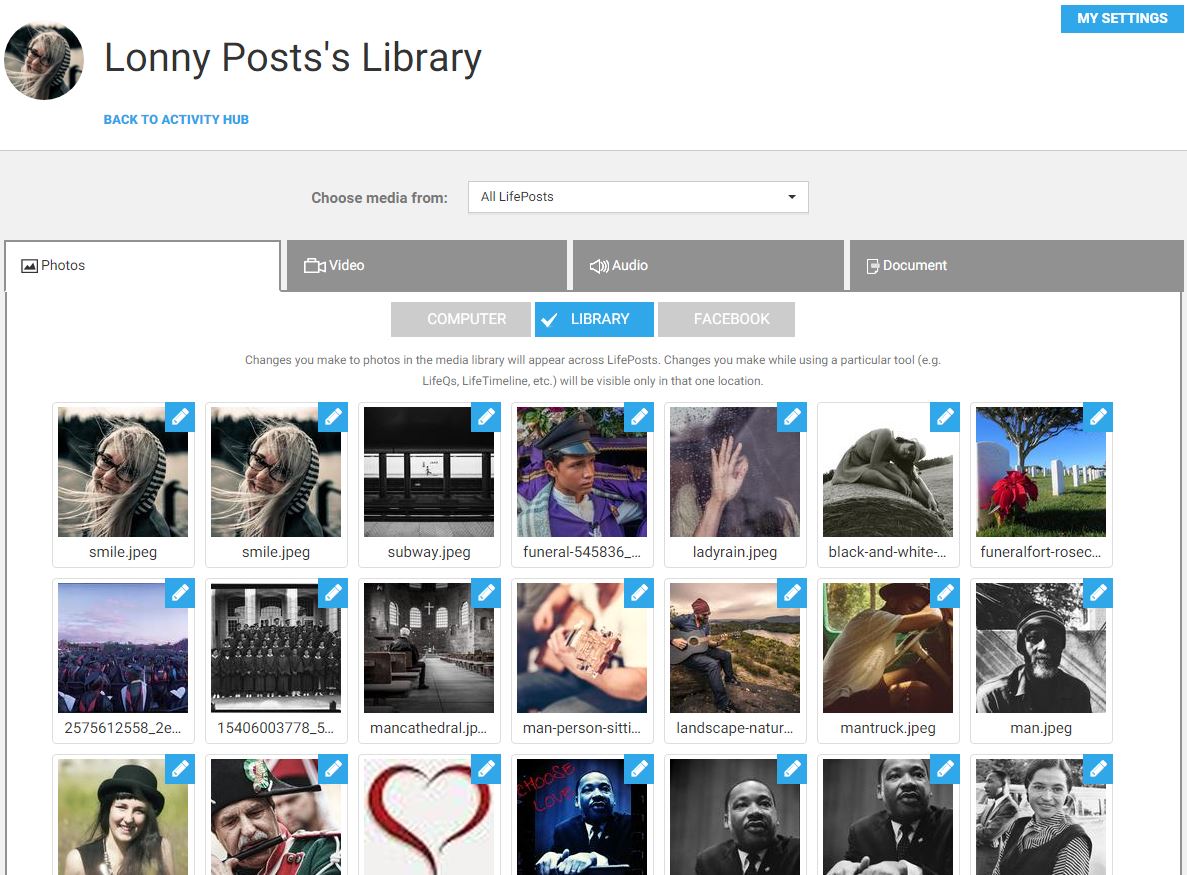
The Media Library, like the Media Picker elsewhere on the site, has three central components:
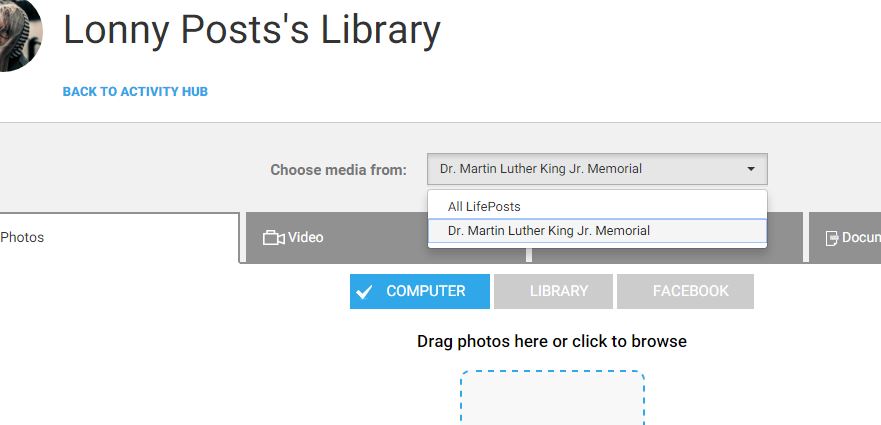
- Library filter: A dropdown menu that allows you to sort your media by LifePost, or upload/import media to a specific LifePost’s library before you want to use them.
- Media format tabs: This screen gives you the ability to choose which form of media you want to view and work with — your photos, video, audio or documents.
- Media source: If you want to upload media into your library, select the “Computer” or “Device” button after you’ve chosen the media type. If you want to view what’s already in your library, choose Library. If you’re working with photos and video and want to view or import your media from Facebook, select the Facebook tab. To add videos to your Media Library from Youtube or Vimeo, select the Youtube button.
Find out more about each of these sections and the various ways of working with your media below.
Photos
Adding Photos to Your Media Library: You can add photos to your media library in multiple ways. You can upload them from your desktop or mobile device, or you can pull them into your library from your Facebook account. You can do all these things while working in the Media Library. You can also upload photos while working in any section of your LifePost.
Getting a photo from a computer, phone or tablet — Click on the button labeled “Computer” or “Device” to upload an image. You can do that either by clicking the big plus sign and selecting the file from your computer, phone or tablet – or you can drag it from your computer into the LifePost window.
Uploading digital photos: You can upload images in any of the standard formats: .png, .gif, .jpg or .jpeg.
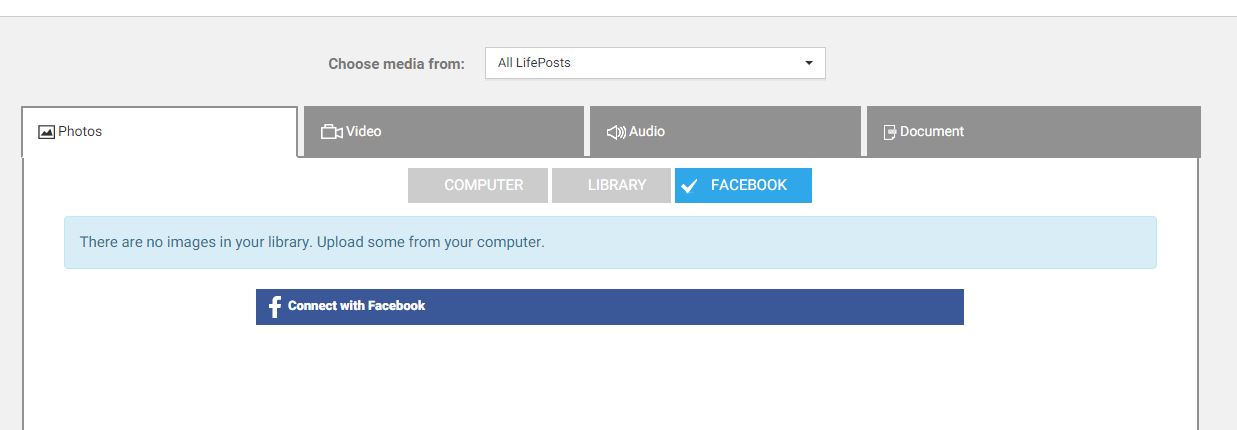
Getting your photos from Facebook into your Media Library: By default, the Media Library opens to the photo tab, as opposed to the Video, Audio or Document tab. From here, all you have to do is select the Facebook button. If you haven’t previously connected your Facebook account, you can do it now by selecting Connect with Facebook.
Once connected, you can view the photos in your Facebook account. To add a photo to your Media Library, just click the pencil icon and click “Add to Library.” When working on a specific LifePost, you can access your Facebook photos in the same manner and click “Add photo.” Once used in a LifePost, a copy will automatically be saved in your Media Library as well.
Uploading printed photos: If you want to upload printed photos, you have two options for getting them digitized. The easiest is to simply take a picture of the photo. The quality is usually good if you have proper lighting and hold your camera steady. If the flash is reflected in your photo, try turning the flash off and taking the photo again in a well-lit room.
To ensure better quality, scan your photos. In general, you can set the scanner at resolution 150ppi.
Saving or downloading images from social media sites: Another way to use images you have posted on other social media platforms is to use the download option provided by some sites. If the site you are using doesn’t have an easy way to download your images, on a desktop, you can right-click (Option+click on a Mac) on any image and save it to your computer.
If you’re on a mobile device, you can save an image on some social platforms by pressing the image until a menu appears and selecting the save option. If a platform does not allow you to save your photos in any of these ways, you can take a screenshot of the image by using a browser plugin or by pressing Alt + Print Screen on a Windows-based PC or Command + Shift + 4 on a Mac.
Renaming your files, editing and adding captions: Click the pencil icon on any photo in your Media Library and you can rename the file, add captions to be used throughout the site, and crop or rotate the image. Note that any changes you make to a photo in the library will be reflected anywhere you’ve already placed the photo.
Video
Accessing videos in your media library: Click the Video tab in your Media Library to add videos or access videos that have already been uploaded. To upload, choose Computer or Device. If you want to see videos you have already uploaded, select Library.
Adding videos from other platforms: You can add videos from your Facebook account, or YouTube and Vimeo. Once you’ve selected the Video tab, select Facebook to pull video from there. You may have to connect your Facebook account if you haven’t already. If you want to move a video from your Facebook account directly into your LifePost library, click the pencil icon and select Add to Library to import it.
To add videos from YouTube or Vimeo, click the YouTube button in the Media Library’s video screen and then paste in the URL of the video you’d like to add, give it a title, then hit enter to add the video.
Uploading videos: You can upload most of the common formats, including .mov, .wmv, .avi and .mp4. Videos from iphone, Android and the Windows mobile system will work.
If your video is not in one of those formats, you can download an app that converts it to a .mov format. For instance, on Macs, you can use Smart Converter. Convert the file for Quicktime, which will turn it into a .mov format. Windows users can use a free video converter like Format Factory. These are only suggestions to get you started and not endorsements of any particular program. Search online to find other programs.
Working with old tapes, films or DVDs: To upload any video to Lifeposts, it must be in a digital format such as .mov, .avi, .wmv or .mp4. There are local services that will convert physical video formats into digital ones. Try calling your local photo/video store to see what services they offer. It can be pricey, but it’s the only way for you to reliably preserve these precious heirlooms. Read about other converter options in this article from The Guardian.
You may not be able to upload selections from older DVDs without first converting them to a proper format. One solution we’ve found is the video converter program by Movavi. Let us know (tips@lifeposts.com) if you have successfully tried others.
Audio
Accessing audio in your Media Library: Once in your Media Library, click the Audio tab to access your uploaded audio. You can upload audio by choosing the Audio tab, then selecting Computer or Device.
Which audio formats work? Acceptable formats include .wav, .aif, .mp3, .mp4 and .m4a.
Editing audio tools: LifePosts does not have audio editing tools at this time, but there are a number of free options on the Internet. Try Audacity to start.
Documents
You can upload PDF files to LifePosts directly into the Media Library. Once your PDF is uploaded, it will display as an icon in your Media Library.
If you would prefer to display an image of the PDF, software such as Adobe Reader, Gimp or Mac Preview can all save PDFs to image files. In Adobe Reader and Mac Preview, you can use the screenshot function to save any portion the viewable screen as an image. In Gimp and Mac Preview, you also can save or export the document as an image.
If your PDF is not in electronic form, you also can take a picture or screenshot of it and upload it. The image of the PDF will display like any other photo. There are a number of PDF converter sites that allow you to stitch PDFs together or convert other formats, such as a text or spreadsheet documents, into PDFs. Try PDFEscape or PDF Converter.
Other elements of the Media Library
Settings button: The Settings button in the Media Library allows you to access your Settings area, which gives you the ability to do even more advanced editing and updating of your LifePosts activity and information. (Learn more about Settings)
Back to Activity Hub: Below the page header, you can select the “Back to Activity Hub” link to return to your personal Activity Hub. (Learn more about the Activity Hub)