
There are several ways to add a photo to your LifePost. Anywhere you see the little camera icon, you can click on it and add a photo. You’ll get a window with various options for media, which we call the media picker.
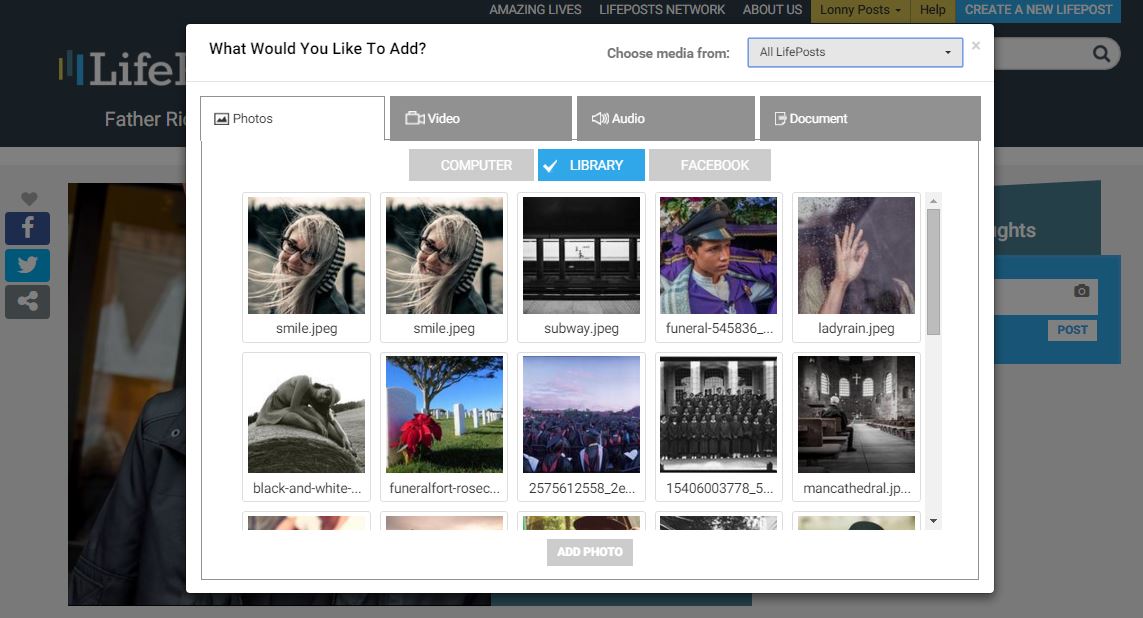
Important tip: Each time you post a photo somewhere on your LifePost, a copy of it is made into your Media Library. If you want to use that photo again somewhere else on the LifePost, you won’t need to upload it a second time. When you click on the camera, you’ll see a button labeled “Library”. Click that to find the photos that you uploaded earlier.
Getting a photo from a computer, phone or tablet — Click on the button labeled “Computer” or “Device” to upload an image. You can do that either by clicking the big plus sign and selecting the file from your computer, phone or tablet – or you can drag it from your computer into the LifePost window.
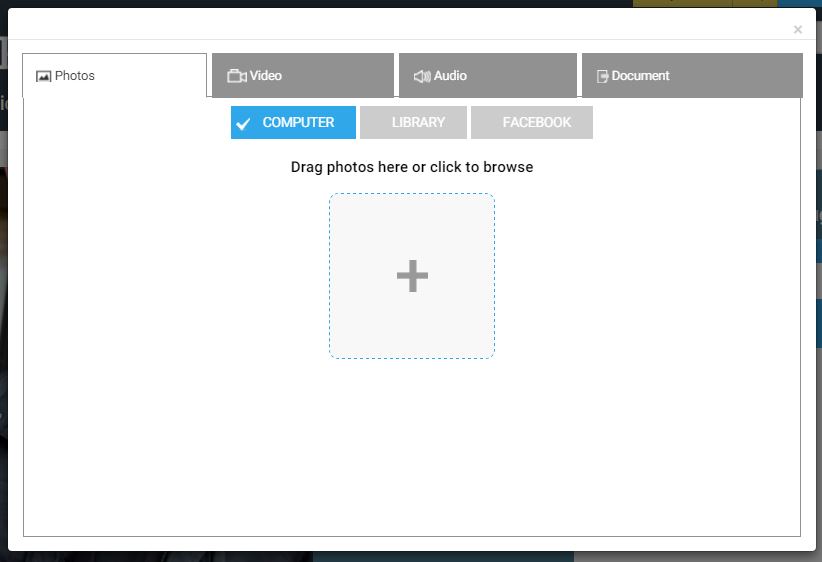
Adding multiple photos — It’s up to you if you want to upload one photo or many at a time. It’s the same process as above – just click “Computer” or “Device” and then select multiple files from your computer or device instead of one. The more photos you do at once, the longer it takes and we recommend doing it in small batches. Once uploaded, these images will be available in your Media Library.
Although you can upload several photos at once, you can only place one item at a time into your LifePost. So if you’re adding a contribution and you upload five photos at once, only the photo next to the “Add photo” button that you’ve pressed after the upload will be placed. The rest will be waiting for you in your library.
Getting a photo from Facebook — To do this, click on the Facebook button from inside the media picker. If you haven’t yet connected your Facebook account to LifePosts, you’ll be asked to do so. Once connected, your Facebook photos will appear and you can click the photo you want. A checkmark will appear. Click “Add Photo” and that image will be placed in your LifePost, and a copy made to your Media Library.
Adding photos to your library – You can add photos directly to your Media Library, even before you’ve decided where in a LifePost you will put them. You can edit the photos there. If you edit a photo in the media library, it will appear in that edited form wherever you put it on the site. Learn more about using the Media Library.
Accessing photos in your Media Library — You can go directly to your Media Library by accessing it through buttons on your Activity Hub or in Settings. The Media Library looks a lot like the media picker, but there are some important differences. Learn more about using the Media Library.
Editing photos – You can edit your photos in-line, meaning wherever you have placed them within a LifePost, by clicking the pencil icon while in Edit Mode (or within any contribution you have made). From the dropdown menu that appears, choose Edit Photo. From there you can crop or rotate your image as needed.
When you edit a photo while you’re in a particular LifePost section (Overview, LifeStory, LifeQs, LifeTimeline), the system also saves a copy of the original in your Media Library. However, if you make edits to photos in the Media Library the edited version will replace the original wherever it has been used on LifePosts.
Photo formats– You can upload images in any of the standard formats: .png, .gif, .jpg or .jpeg.
Saving or downloading images from social media sites — Another way to use images you have posted on other social media platforms is to use the download option provided by some sites. If the site you are using doesn’t have an easy way to download your images, on a desktop you can right-click on any image and save it to your computer.
If you’re on a mobile device, you can save an image on some social platforms by touching the image until a menu appears and selecting the save option. If a platform does not allow you to save your photos in any of these ways, you can take a screenshot of the image by using a browser plugin or by pressing Alt + Print Screen on a Windows-based PC or Command + Shift + 4 on a Mac.